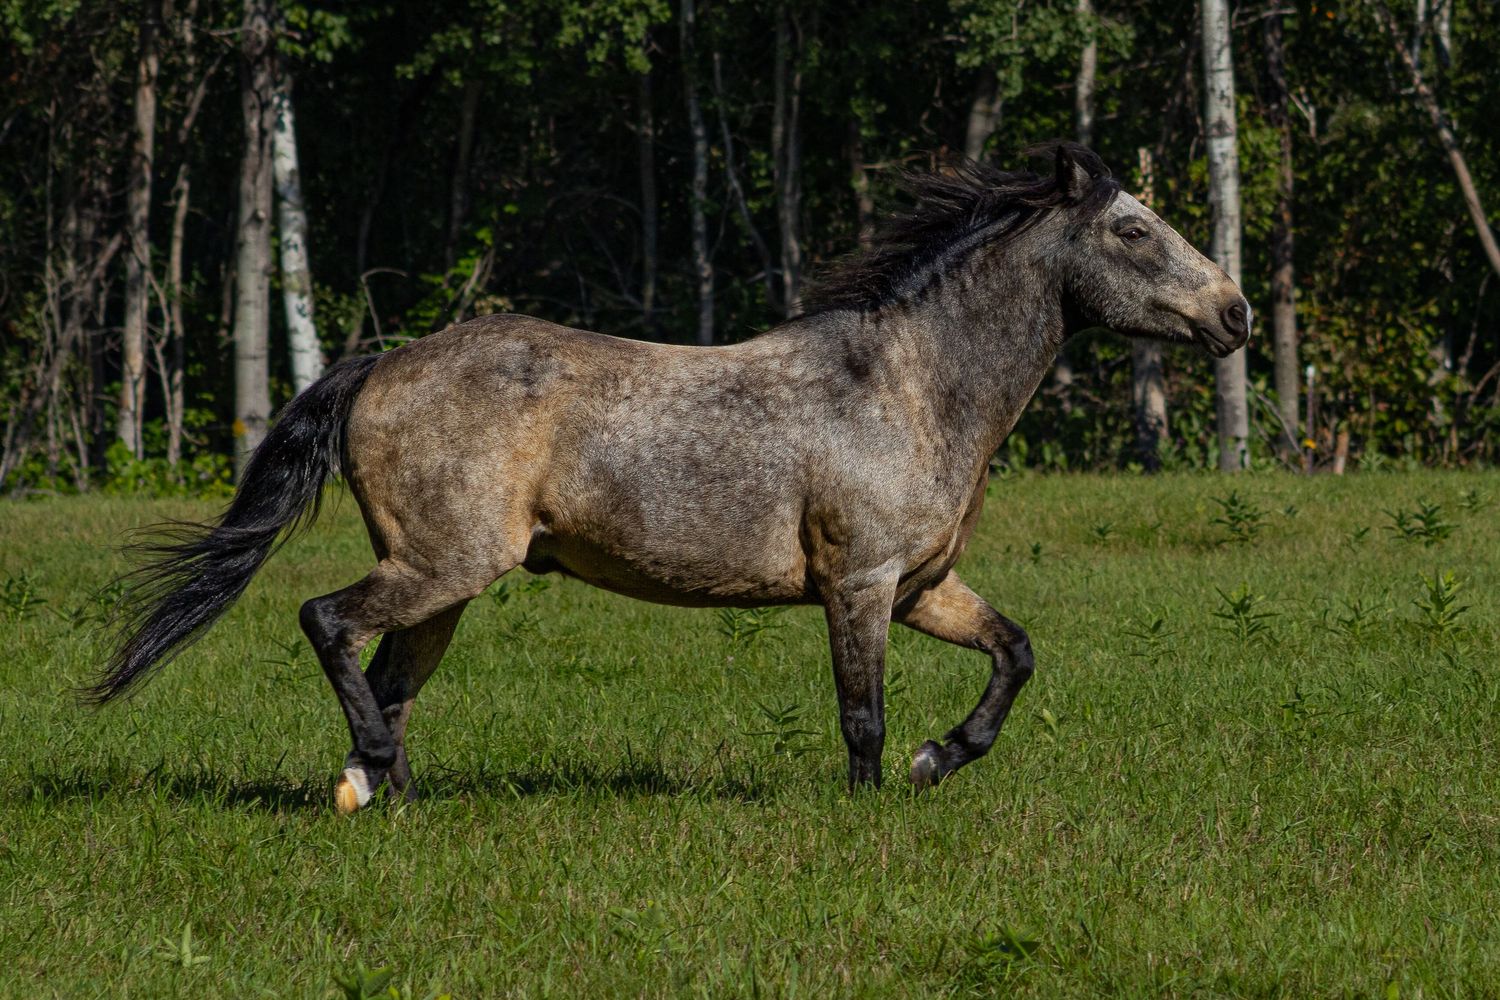
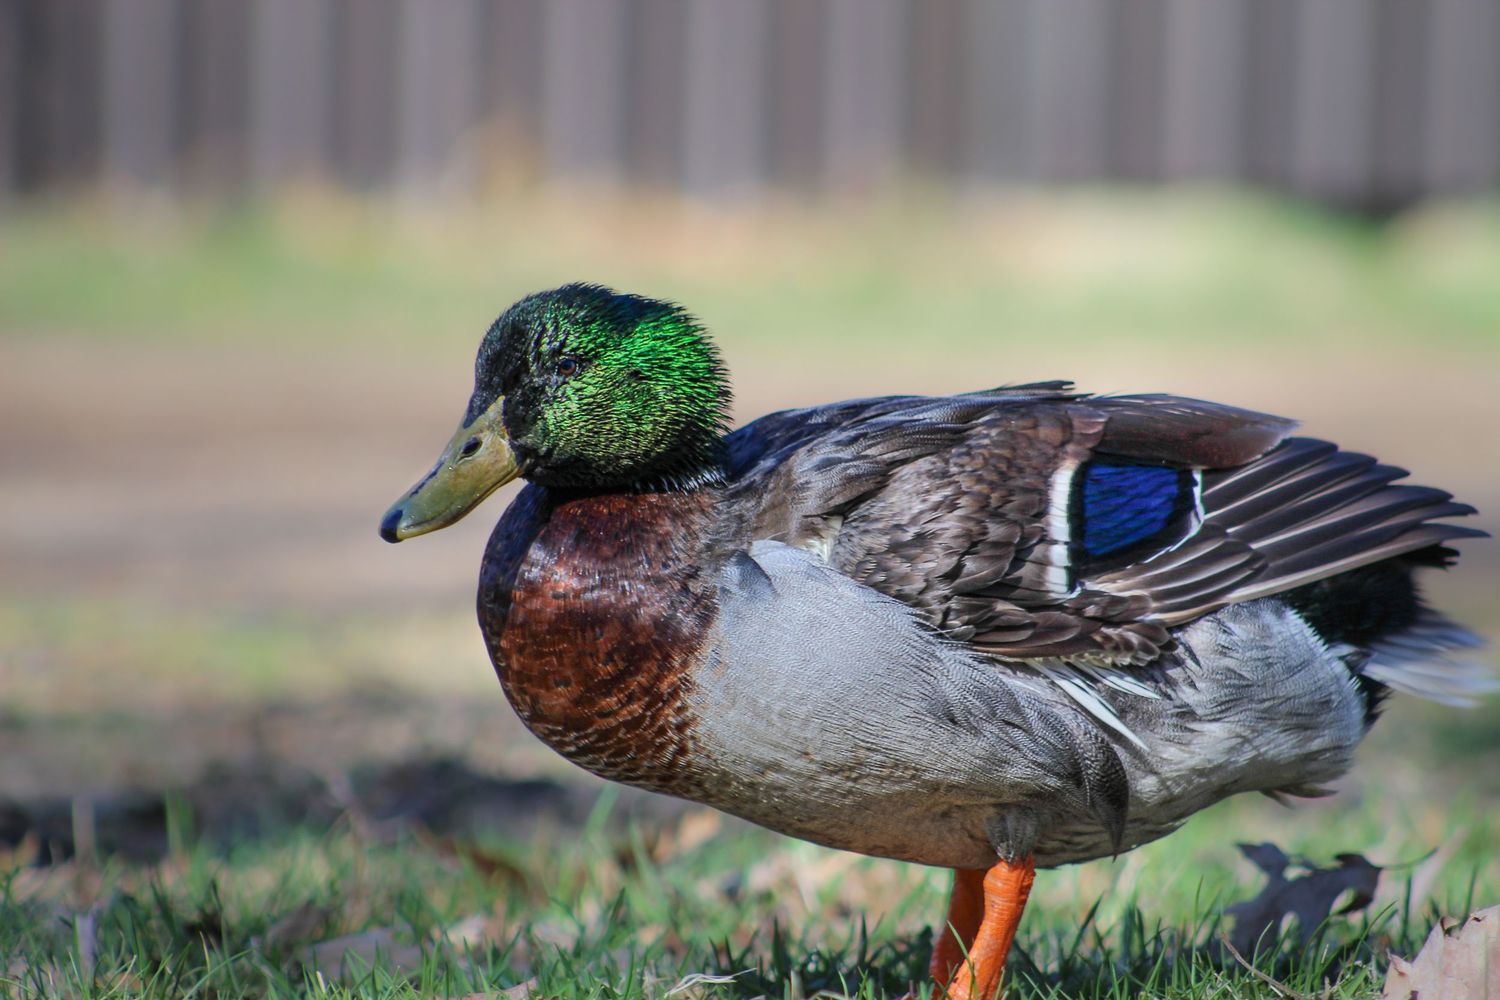
Welcome to the Experience for
Farm Friends
Whether it's muddy hooves, fluttering feathers, or big curious eyes, there's something so special about life on the farm and capturing that connection is what I love most. This page is your handy guide to everything you’ll need to know before your session. From what’s included and how to prepare, grooming tips, and day-of advice. It's all here to help you and your farm friend feel right at home.
Whether you’re showing off your proudest show pony, your fluffiest goat, or your chicken with the most attitude, my goal is to keep the process relaxed, fun, and full of heart just like life on the farm.
What’s Included in Every Session:
Pre-Session Planning Call or Text Chat
We'll connect however you’re most comfortable (Call, text, or email) to chat about your vision, location ideas, and everything you’re hoping for. I want to hear all about your pet and what makes them special!
A Relaxed, Pet-Focused Session at Your Chosen Location at Your Home
Whether it’s all around your backyard, in a pen, or in a pasture, my sessions are designed to be fun, laid-back, and totally you. No pressure, just play!
Yummy, Healthy Treats
I try to come stocked with tasty, pet-safe snacks to keep those ears perked.
Styling Guidance + Posing Tips
Not sure what to wear or how to pose? I’ve got you covered with tips and tricks to make sure everyone feels confident and comfortable (including your pet!).
Halter Editing (When Possible)
Your pet’s safety comes first, so most sessions are done with halters on but don’t worry! I use careful editing techniques to remove them in images where it’s feasible, so all you see is your pet shining bright.
Fully Edited Digital Images + Print Rights
You’ll receive a gallery of beautifully edited, high-resolution images ready to share, print, and treasure forever.
Step 1. Booking Your Photo Session
Once you’ve submitted your inquiry form, we’ll connect to chat through your session options. Together, we’ll choose the perfect date and time to bring your vision to life.
From there, you’ll just need to sign the session agreement Once that is in, your session is officially booked and on the calendar!
Let the countdown to adorable memories begin!
Step 2. Pre-Session Questionnaire
Before your scheduled session, you’ll receive a short questionnaire to help me get to know you and your farm friend(s) a little better, what your days look like together, any special quirks or routines, and what kind of images you’re dreaming of. This is also where you can share important details like food allergies or any behavioral notes I should know ahead of time.
Whether it’s a headbutting goat, a rooster with an attitude, or a horse who likes to nibble on sleeves, I’ve seen it all and knowing these things helps me keep the session safe, smooth, and enjoyable for everyone involved.
Step 3. Your Photo Session
When session day rolls around, we take it slow especially at the start. I’ll let your animal(s) get familiar with me and my camera so they feel safe and settled. Whether we’re working with a waddling duck, a curious goat, or a camera-loving horse, comfort always comes first.
We might stroll around the pasture, let them sniff the gear, or hang back and observe from the fence line until they’re ready. The vibe is easygoing and relaxed so we can catch those honest, unscripted moments, the head tilts, tail flicks, playful hops, and soulful stares that make your farm friend so special.
You just show up, love on your animals, and let the day unfold. I’ll handle the rest.
Step 4. Final Editing Process
Once your session wraps up, I’ll carefully sort through all the images and select the very best, the ones that capture the heart of your farm, the charm of your animals, and the moments worth remembering. No need to sift through hundreds yourself; I’ll curate a gallery full of the ones that truly matter.
From there, your photos head into my editing queue, where I enhance colors, tidy up distractions, and highlight the quirks and soulful details that make your animals one-of-a-kind. Turnaround time varies with the season, but I’ll always share an estimated delivery date so you know when to expect your finished gallery.
Step 5. Your Online Gallery
Once your final edits are complete, you’ll receive a link to your personal online gallery filled with beautifully edited, high-quality images that showcase the heart and soul of your farm friends.
From there, you can download both high-resolution files (perfect for printing) and web-sized versions (great for sharing). You’ll also have access to a thoughtfully curated store where you can order prints, canvases, albums, and other keepsakes that bring those farmyard memories to life.
Your gallery will stay active for one year, though I recommend downloading and backing up your images to a computer and cloud storage to keep them safe for the future.
Step 6. Time to Turn Photos into Keepsakes!
Your gallery isn’t just for looking it’s also a one-stop shop for turning your favorite images into wall-worthy art. Choose from gorgeous prints, albums, framed pieces, and more right from your gallery.
Want to print somewhere else? Totally fine! Just make sure to use the high-res files so your images stay sharp and beautiful. Need advice? I’m happy to help!
Step 7. Enjoy What Matters Most
Now for the best part enjoying your images. Whether you frame them for your walls, create a stunning album to flip through, or share your favorites online, these photos are meant to be seen and loved.
They tell the story of a animal that deserves to be celebrated every single day. Don’t let them sit forgotten on a hard drive bring them into your world and let them bring joy for years to come.
How to Prepare
For you:
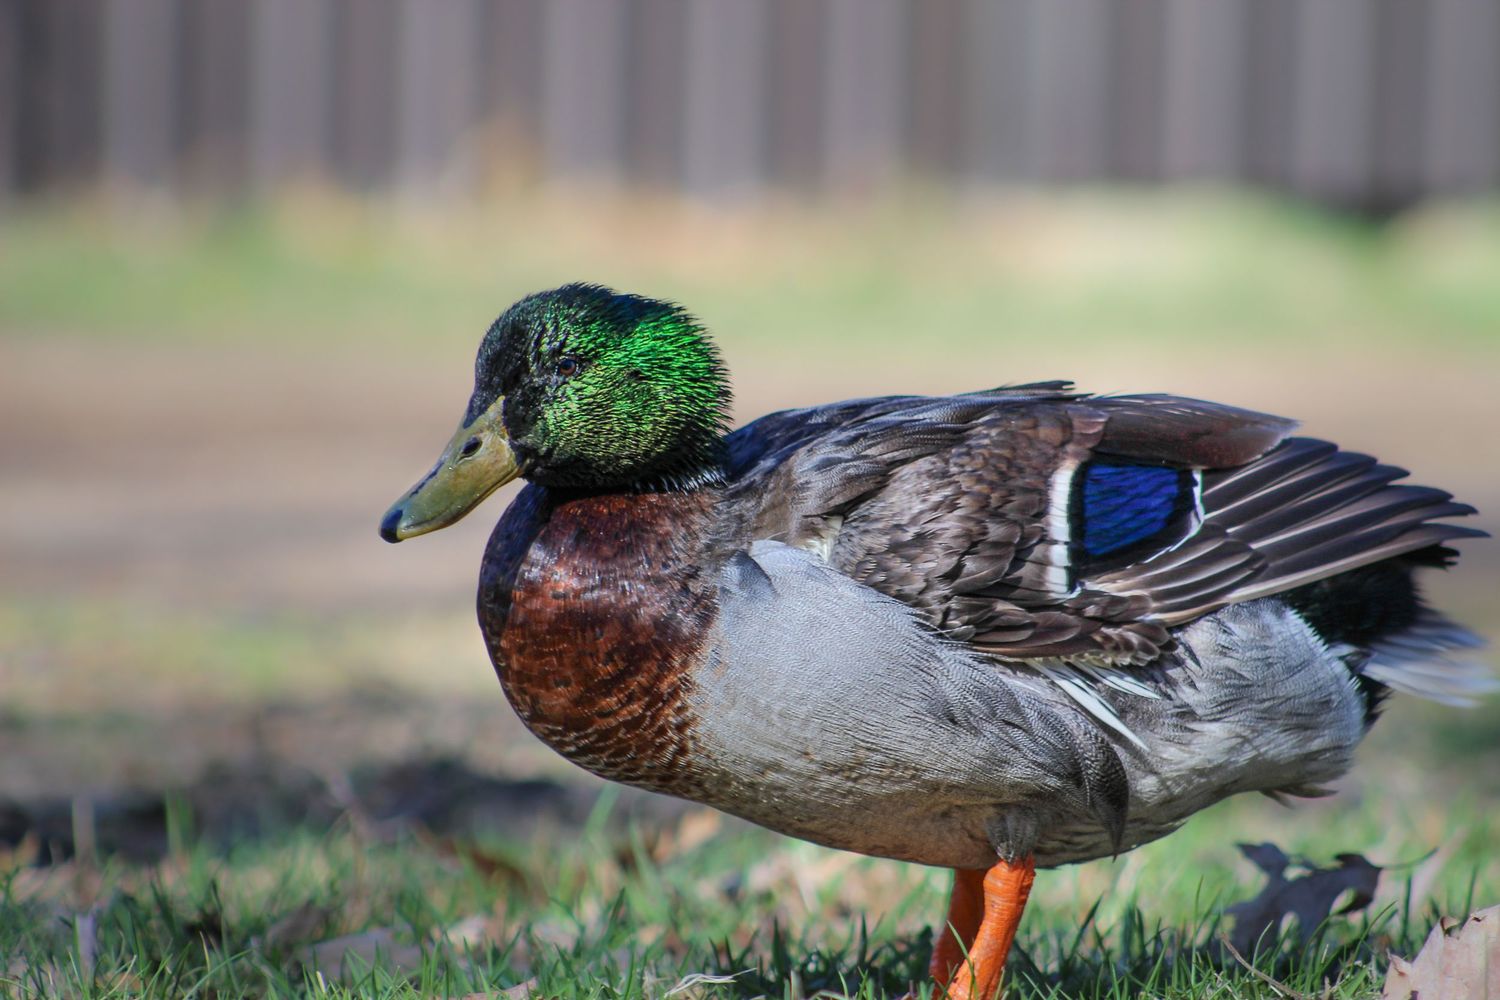
Whether you’re snuggling a sheep, brushing down your horse, or wrangling chickens into the perfect spot, the key to a great session is feeling relaxed and ready. Choosing your outfit ahead of time (think comfortable and farm-friendly!) and getting a good night’s rest can make all the difference.
Don’t worry one bit about your animals being “perfect” I’ve worked with everything from headbutting goats to curious alpacas, and I’m fully prepared to roll with whatever your farm crew throws our way. This experience is meant to be lighthearted, genuine, and full of charm. All you have to do is show up, enjoy the moment, and let your connection with your animals shine through.
For your pet:
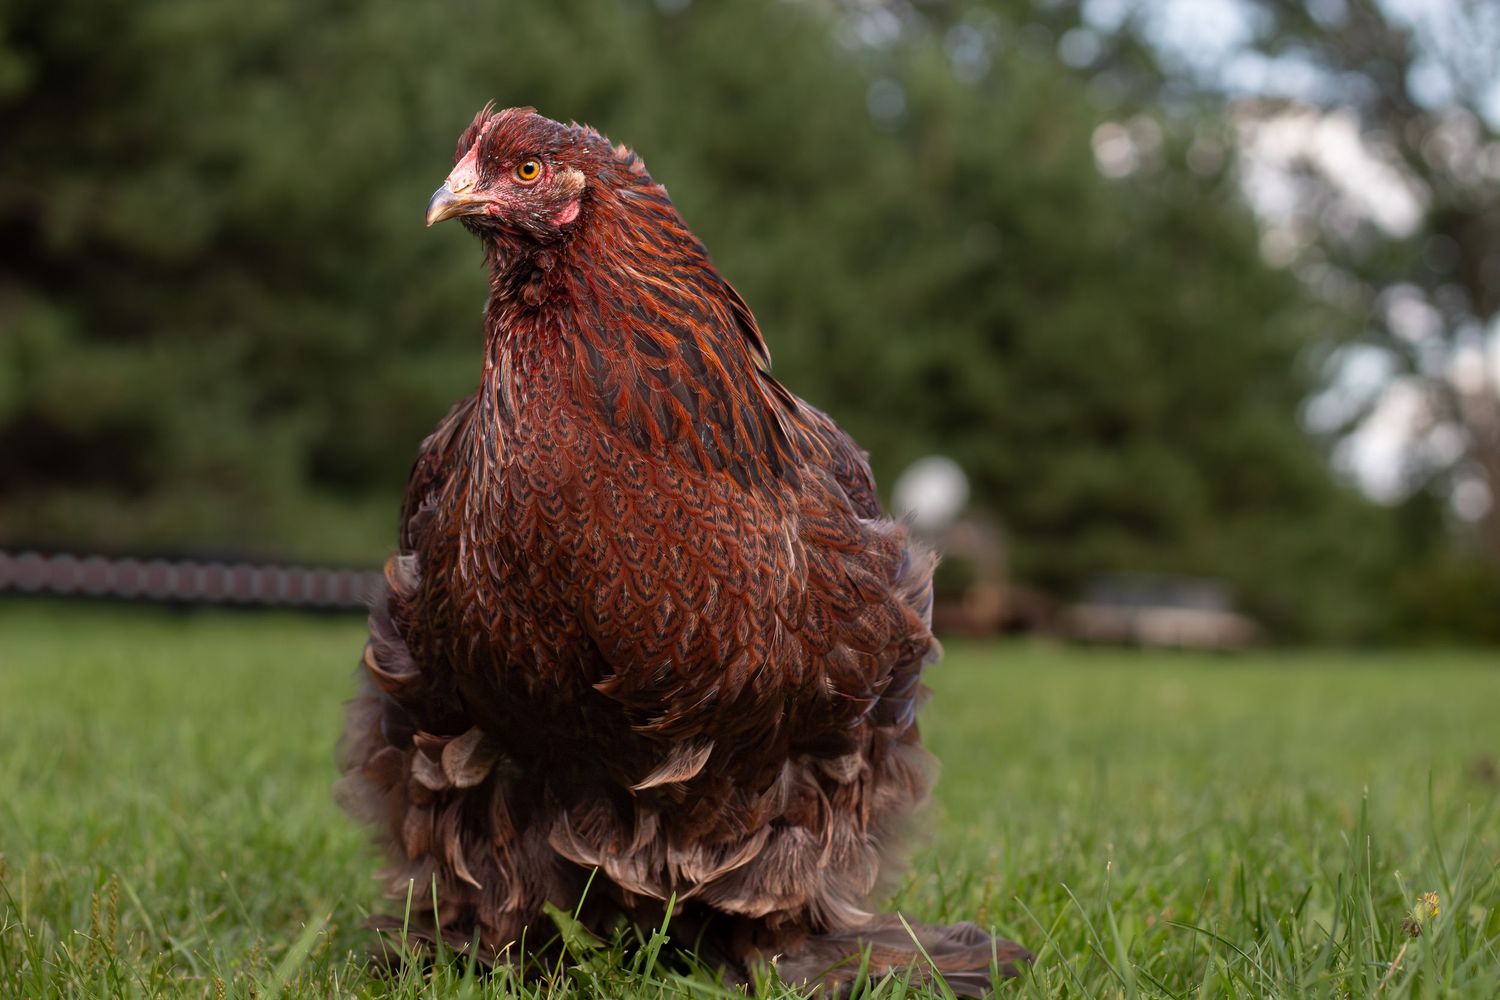
A little prep goes a long way when working with farm animals. On session day, try to hold off on their usual treats so we’ve got something extra exciting to motivate them during photos. Make sure they have plenty of fresh water and avoid any overly tiring activities beforehand so they’re not worn out or overworked.
If possible, keep them in a smaller or more contained area before I arrive this helps avoid a long game of hide and seek and makes introductions easier. We’ll always work at their pace and comfort level. A little patience and prep make all the difference!
Share Your Vision:
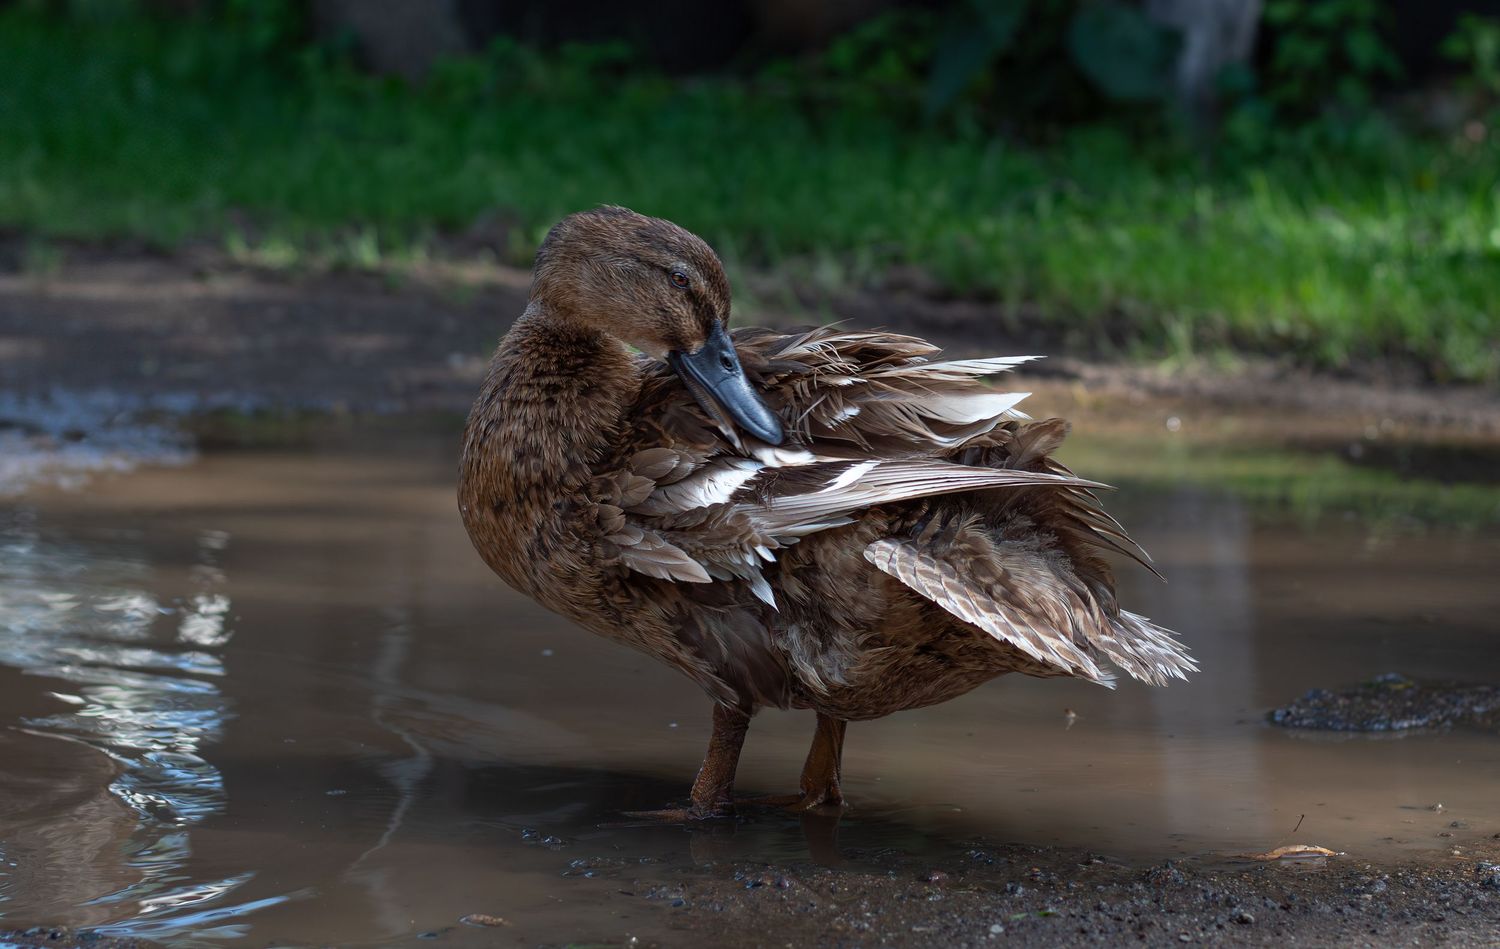
I’d love to hear about any specific ideas or poses you have in mind for your session! While I can’t promise every shot will turn out exactly as you envision, I’m all about giving it my best shot and bringing your ideas to life. Don’t hesitate to share Pinterest boards, photos, or just chat with me during the session I’m always excited to try new things and make your vision a reality.
Some important things to consider for the Humans!
Please remember to remove your keys and cell phone from your pockets! While I may be able to fix some of the ugly bulges, I can’t promise to fix them all and extensive re-touching can be difficult! I’ll try to remind you at the time of the session as well.
These are the type of things that distract from and spoil your photos!
Let’s Talk Gear: Halters, Lead Ropes & More
When photographing farm animals, safety and comfort always come first, which often means working with halters, lead ropes, or other handling gear during your session. These tools help your animals feel secure and give us more control in an open environment especially for larger animals like horses, goats, or cattle.
That said, I do my best to minimize the visual impact of gear in your final images. In some cases, lead ropes or halters can be edited out entirely especially if they’re simple, neutral-colored, and loosely fitted. However, not all gear is fully removable, particularly brightly colored ropes, bulky hardware, or anything that crosses a large part in front of the animal’s face.
To help keep your final gallery clean and beautiful, I recommend:
Using a clean, well-fitted halter in neutral or natural tones (think black, brown, tan, or soft rope).
Avoiding neon or bright colors if you'd prefer the gear to be subtle or edited out.
Bringing a removable lead rope (we can unclip it safely for certain posed shots).
Letting me know ahead of time if there's specific gear you’d like edited or featured.
And of course — if your animal is trained to stand freely or in a pen for photos without gear, that’s great too! Either way, I’ll work with you to find the best balance between safety, style, and storytelling
Grooming Tips for Your Barnyard Besties
A little grooming goes a long way when it comes to photo day! Whether you're photographing your horse, cow, goat, or pig, a bit of prep can help their natural beauty shine while keeping them comfortable.
Horses
Give your horse a good grooming session the day before the shoot. A full brush-down (especially the legs and face), a clean mane and tail, and a wiped-down muzzle go a long way in photos. If possible, give them a quick rinse or spot clean any stains — especially if they’re light-colored! A gentle spritz of coat conditioner can also add a healthy shine without looking oily.
Cows
Give your cow a good brushing with a curry comb or stiff brush to remove dust, hay, and loose hair. Wipe down their nose and around their eyes with a damp cloth for a clean, fresh look. A quick polish to hooves and horns (if applicable) can add extra sparkle without much effort
Goats
Goats are naturally curious and expressive — a gentle brushing to remove loose hair and hay bits will help their coat look clean and tidy. A quick wipe around the face and hooves helps polish their look. If they have long hair, make sure it’s untangled and not matted.
Pigs
For pigs, especially potbellies, a simple wipe-down with a warm, damp cloth is usually all you need. Remove any dried mud, hay, or shavings, and make sure their eyes and snout are clean. A soft bristle brush can help with loose dirt and dead hair.
- Avoid bathing before the session unless your pig is used to it, too much change can make them a little grumpy!
Color Coordinating With Your Horse
Photos with your horse are a mix of elegance and rustic charm. Coordinating your outfit helps you both shine.
• Chestnut / Sorrel Horses
Go for deep greens, navy, or dark purple. These cooler tones complement their warm coloring.
• Palomino Horses
Rich jewel tones (like emerald, ruby, or sapphire) pop beautifully. Avoid yellow or beige.
• Gray or White Horses
Almost any color works! Bright, bold hues offer great contrast try teal, maroon, or even black for a classy look.
• Black Horses
Bright tones or whites make a strong contrast. Avoid deep black unless you want a dramatic and moody vibe.
• Bay / Dark Brown Horses
Earthy tones like mustard, forest green, and burnt orange feel natural and balanced.
• Horses with light eyes
A light blue dress or shirt that matches their eyes? Yes, please, it creates a cohesive and captivating look.